This post is part of a larger series on how I designed my photography zine, in somewhat agonizing detail. Take a look at the other posts in this series:
- Part I of VI: Forming the Project
- Part II of VI: Early Design Concepts
- Part III of VI: The Design Dirty Work
- Part IV of VI: Editing the Zine
- Part V of VI: Producing the Zine
- Part VI of VI: How to Photograph a Laundromat & Other Thoughts
Truthfully, all my work up to this point was fluff. The process I followed has no rules and resulted entirely from my own personality quirks. My process worked for me. It may not work for me again, and it may not work for others. As they say, there is more than one way to skin a cat. (That poor cat…)
However, the remaining processes of designing a zine, printing, and producing everything are more objective. Consequently, this post will be a little long.
Design Constraints
Designing a document to print and bind at the centerfold was a new challenge for me. I had to overcome a few constraints:
- Due to the way books are bound at the centerfold, the pages must be printed out of order (e.g. 2, 3, 4, 1) in order to appear in order (e.g. 1, 2, 3, 4) when bound.
- I designed the pages of my zine to have something called bleed, which is the area at the edge of the printed page that is intended to be trimmed off after binding to create smooth edges on the finished item.
- Because each printed page is folded in half during saddle stitch binding, one piece of paper actually produces four pages within a bound book. I needed to make sure the number of pages in my zine was a multiple of four (excluding the cover and centerfold insert) so that I wouldn’t have blank pages at the front or back of my zine.

The Tools I Used
I chiefly used two software programs to design my zine around the challenges above:
- Inkscape is a freeware vector editing software. I chose this software to design the cover and centerfold insert for my zine because it can accommodate the difference these items have from the rest of the zine (different page sizes and/or materials). I was familiar with Inkscape, and I appreciated the precision and simple editing capabilities it offered me.
- Affinity Publisher is a publishing software alternative to Adobe InDesign with a one-time fixed cost per license. I chose this software because its function met my needs, yet the price point matched the use I will get out of it since I won’t use it very often. The program is also easy to learn if you have no previous experience with publishing software.
Designing the Zine

Cover: The cover design was the first item I completed since I had some inspiration for it one day and wanted to create a version of it before the idea was lost . I created documents for both the cover and centerfold insert with the correct paper size (8.5″ x 11″ for the cover, and 8.5″ x 14″ for the insert), and used ruler guides to ensure I was designing the outside bleed area I would eventually trim off.

Zine Interior: For the zine interior, I opened a new document in Affinity Publisher with a total of 52 pages (13 printed pieces of paper, front and back). I set the paper size (8.5″ x 11″) and the bleed measurements to allow me to eventually trim my zine to its final size (5″ x 7.5″). I added the photos I wanted to use to the document. From there, I moved pages and spreads around until I was happy enough with the order.

Materials Selection
With a rough draft of my zine completed, I reached a point where I needed to choose the final materials I wanted to use. I surveyed my own [not so small] reserves of paper, and visited craft/office supply stores to compare different weights and colors of paper. I tested several materials and agonized over shades of white and cream until I finally settled on:
- Cover: Letter size 80 lb. cream cardstock
- Interior pages: Letter size 32 lb. HP Premium printer paper
- Centerfold insert: Legal size cotton paper and light vellum
- Binding thread: White waxed linen thread
Print Testing

Print testing bridged the distance between the design phase of my zine and the editing phase. Testing different materials and genuine curiosity led me to print several iterations of my zine, each evolving towards what would be a final draft. It was my own controlled experiment to test font size, paper types, embossing techniques, and printer settings.
How did I print it?
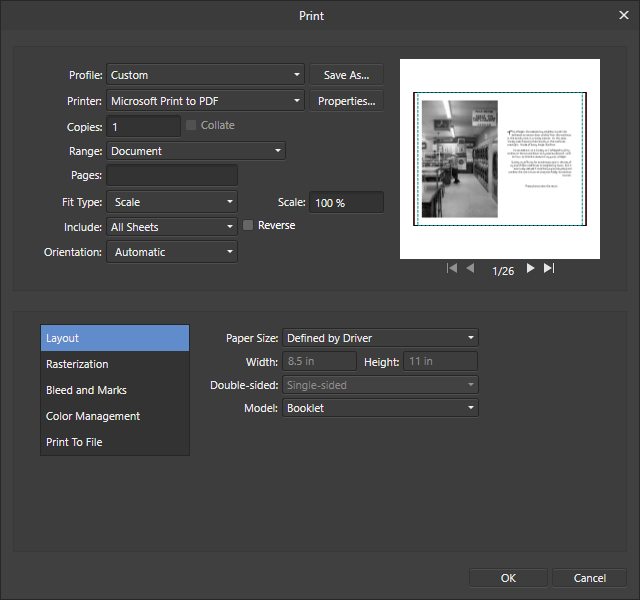
Printing the Interior: Before printing the interior pages of my zine, I needed to create a document that ordered the pages correctly to overcome the first design challenge mentioned above. For ease, I printed my zine pages to a PDF from Affinity Publisher . I ensured the layout was set to “booklet” and that the Bleed and Marks had the “Include Bleed” box checked:

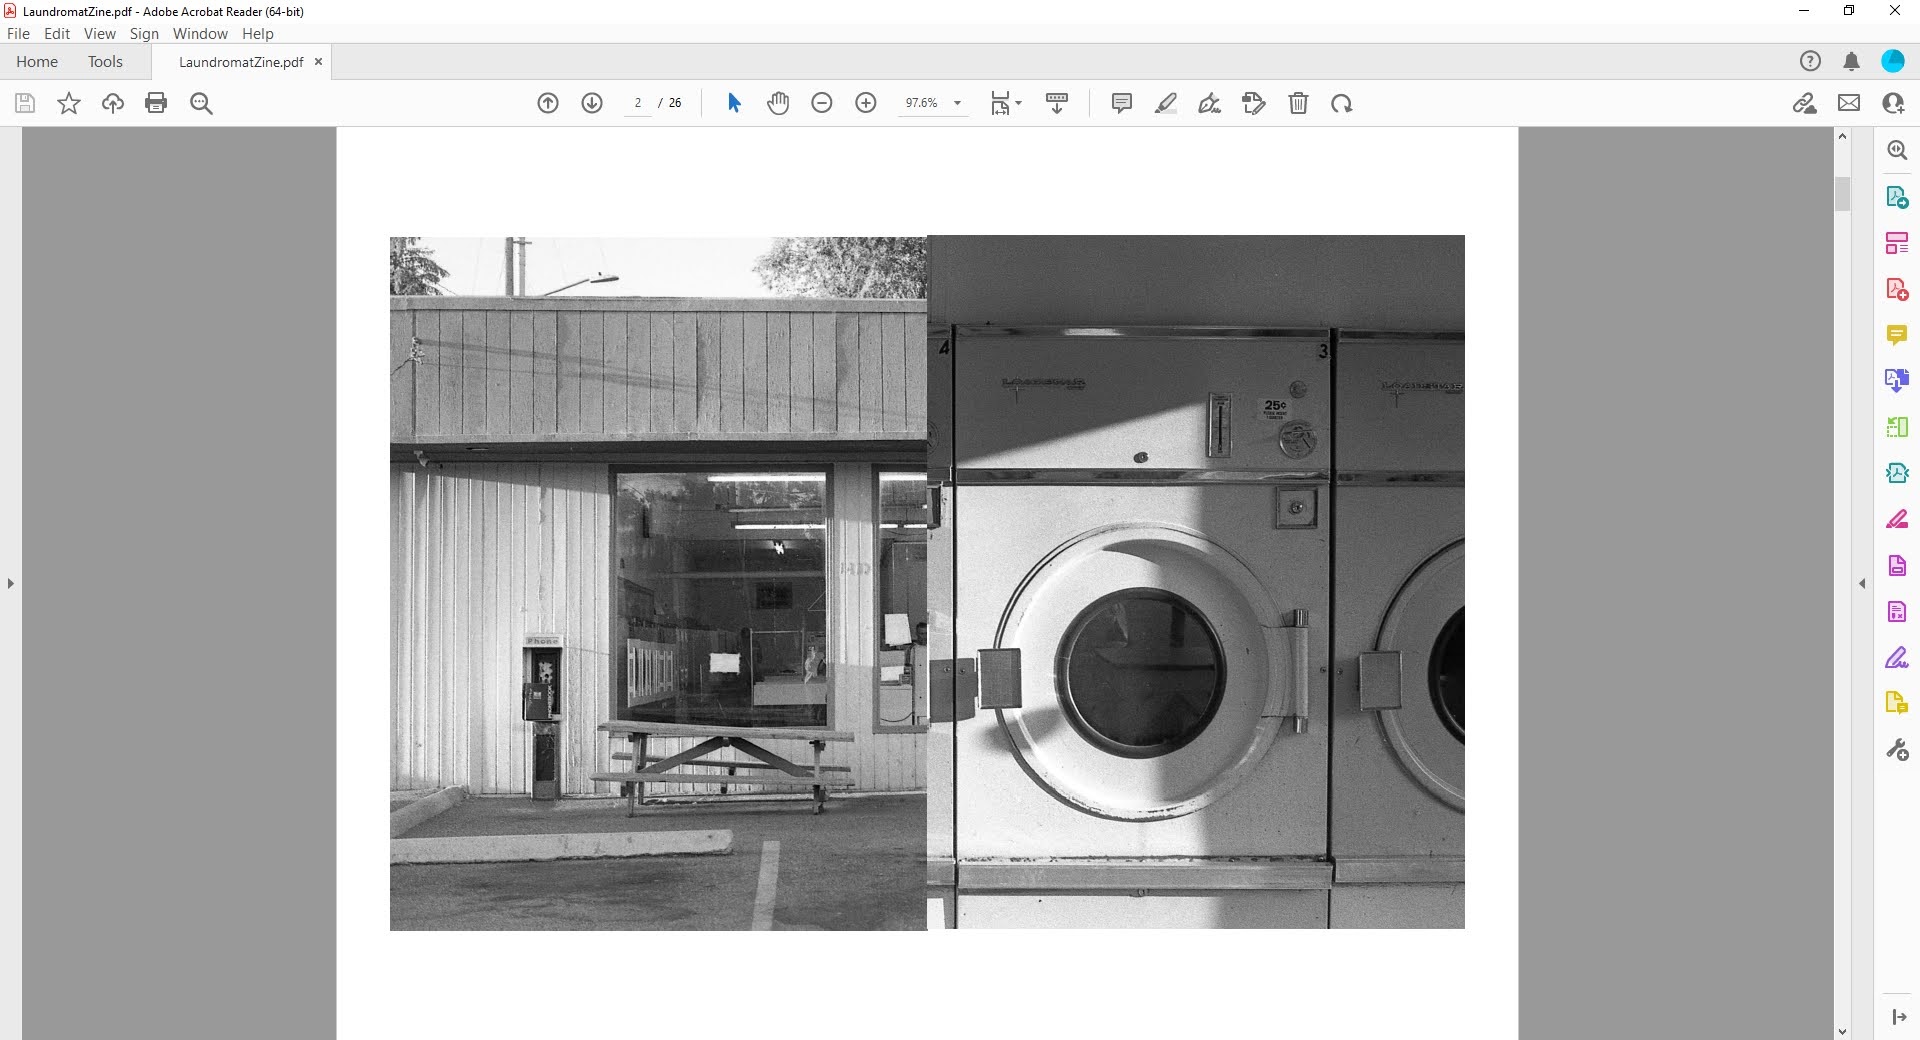
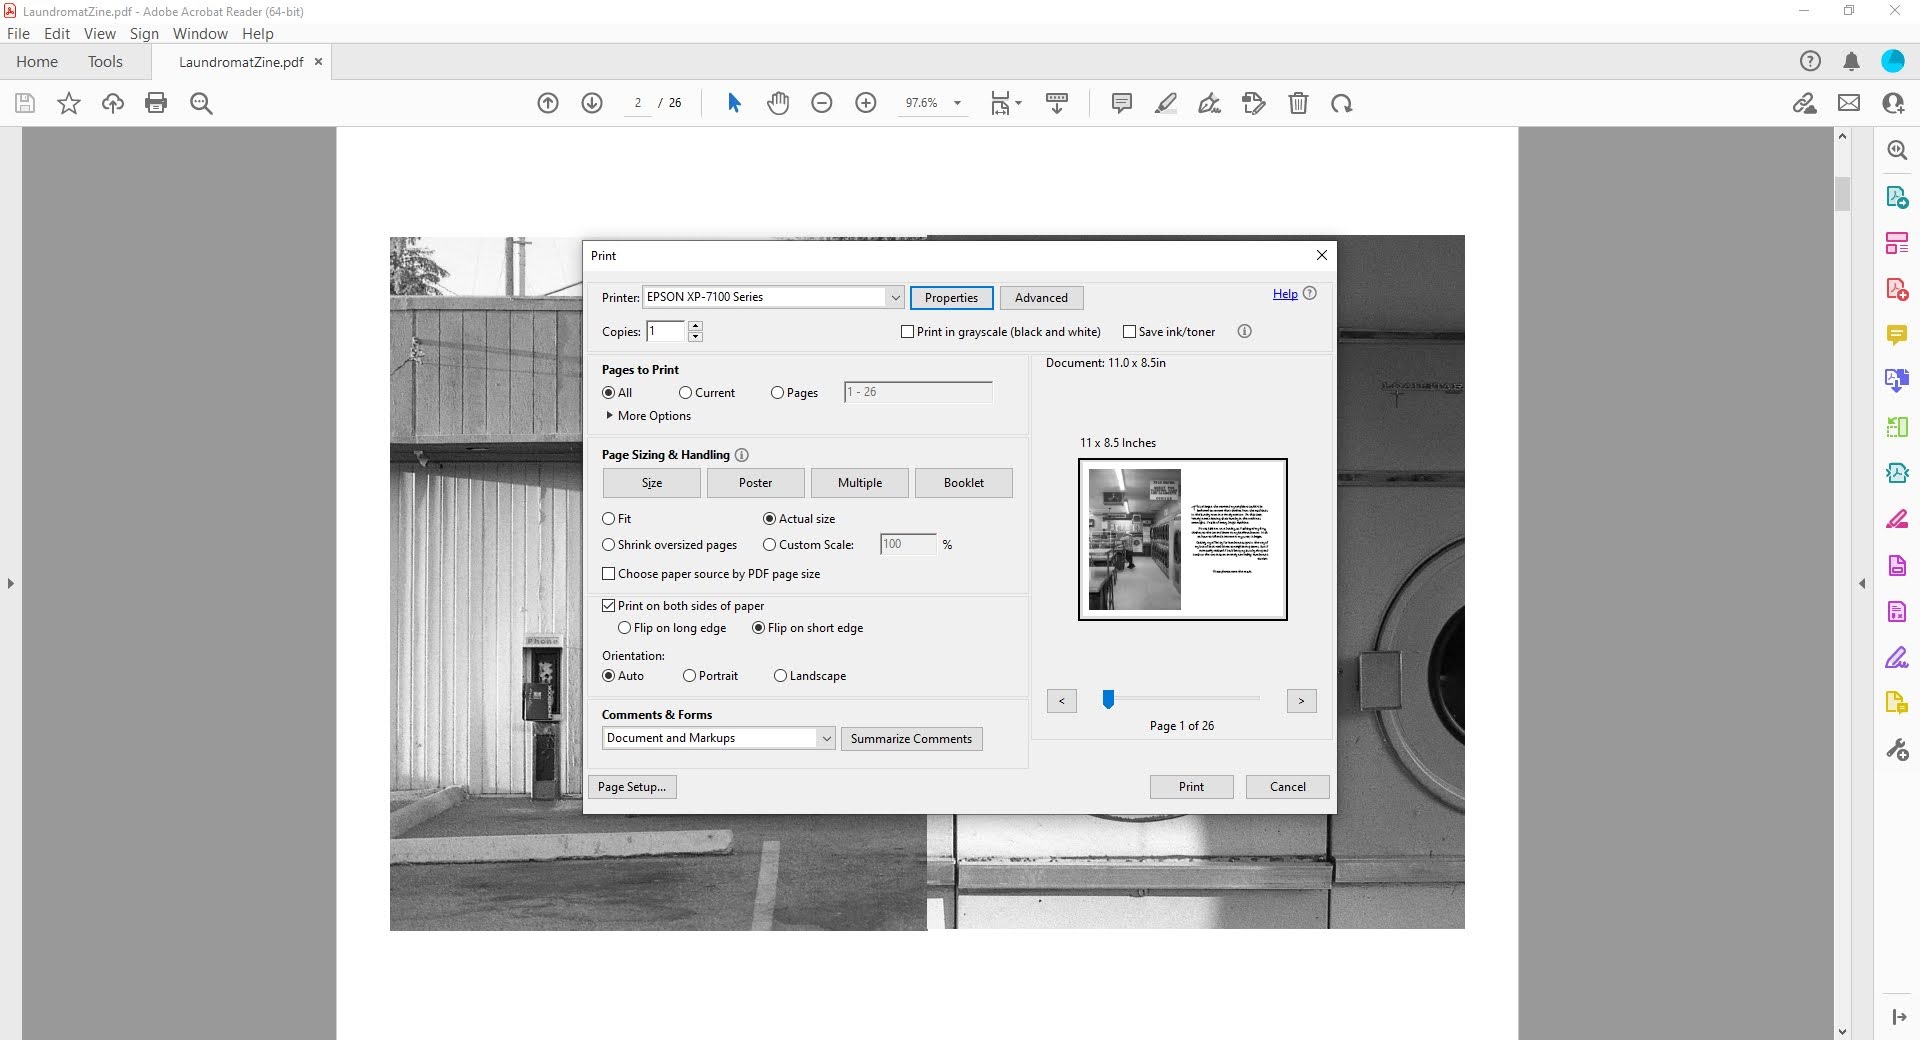
From there, I used Adobe Acrobat Reader to print the document. This part simply required printing the document with pages on both sides of the paper. I took care to make sure my printer settings were set appropriately. (In my case, I opted for high quality printing using only blank ink, and I reduced the print density by 10%.)
This step is also made easier with a duplex printer, which is a feature allowing a printer to print on both sides of the paper automatically without manually flipping the pages. (I am directionally challenged, so this was indispensable for me.)
Printing the Cover & Insert: While a duplex printer was helpful in printing the interior pages, the feature was less helpful printing the cover and centerfold insert. (The paper kept jamming due to thickness/abnormal size.) I exported these items from Inkscape into a PDF. From there, I printed these items with Adobe Acrobat Reader, flipping the pages manually between the front and back of the items.
Once I printed all the elements of my zine, I folded the pages in half, punched holes through the centerfold, and bound everything together using saddle stitch binding.
These print tests provided physical copies that helped me imagine what my zine would look. They helped me feel like I was making progress, and also provided a valuable tool as I moved on to the editing phase.
